Get Ready for GTA 6 with These Must-Have Gaming Upgrades

Deals TeamNov 19, 20265 min read
If you’re getting ready for GTA 6, you don’t need to rebuild your whole setup. What matters is fixing the part that already annoys you every time you play: the chair that makes your back ache, the screen that turns dark scenes into a blur, or the desk that leaves your headset and controller in a pile. Pick the right upgrade first, and launch night feels better without turning into an expensive shopping spree.
Identify the upgrade you’ll notice after one hour
Before you buy anything, write down the first problem that shows up in a normal session. If your neck starts hurting after 45 minutes, a new light strip won’t solve it. If your eyes feel tired in dark scenes, a collectible shelf won’t help there either.
One useful trick is to take a photo of your setup from your seated position. A picture makes problems obvious: a monitor that sits too high, a chair that doesn’t support your back, cables cutting into leg room, or light reflecting straight off the screen. Do one more quick check before you order anything: count your open outlets and USB ports. A small upgrade can still fail if it needs one more power brick or blocks the only port you actually use.
If comfort is the first issue on your list, start with the Gaming Chairs category, then check Libernovo, which currently has chair deals listed on its store page. 5% off coupon code is available At the time of writing, the Maxis Airflow Dynamic Ergonomic Chair is 30% off until November 30, 2026. That’s a better first purchase than adding desk extras while you’re still shifting around in your seat every hour.
Judge a screen by eye movement, not bragging rights
A bigger display can make an open-world game look great, but it can also make a cramped desk worse. The real test isn’t how large the panel sounds on paper. It’s how easily you can scan the road, the minimap, subtitles, and darker corners of the image without constantly darting your eyes around.
Try this before you shop: sit where you normally play and look from the center of your current screen to the lower corner where HUD elements usually sit. If that glance already feels long, going bigger may make the setup more tiring instead of more immersive. This matters even more if your desk is shallow and you sit close to the panel.
Another easy mistake is shopping screen specs before checking the hardware you already own. If you play on PC, compare the display upgrade against the rest of your system before you browse the Gaming Computers category. A new monitor won’t feel like a smart buy if the computer behind it isn’t the real bottleneck.
Use room lighting to cut glare and eye strain
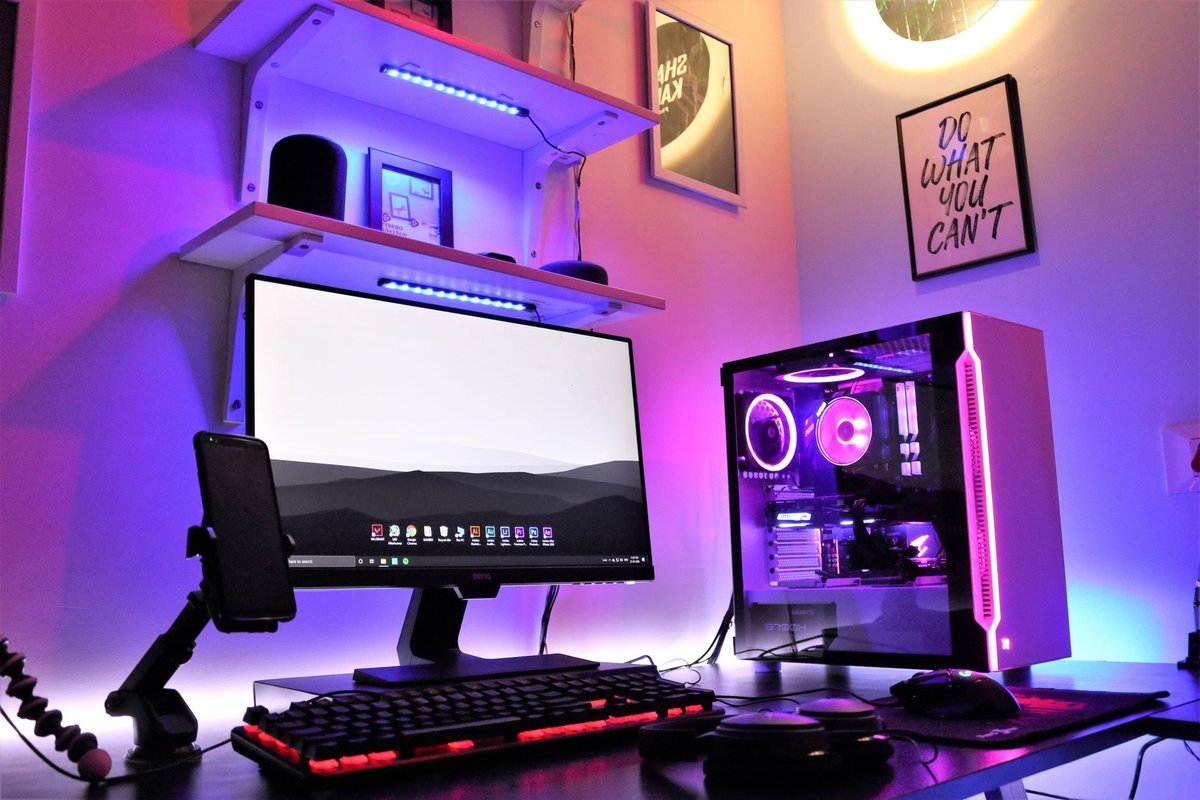
If you want the setup to feel more cinematic, start with indirect light instead of adding bright light sources around the desk. A strip or lamp placed behind the screen and aimed at the wall usually does more for comfort than several glowing accessories pointed back at you.
That approach helps in two ways. First, it softens the jump between a bright screen and a dark room. Second, it keeps reflections down because the light isn’t aimed at the panel. A good starting point is one light source behind the display and one lower accent light off to the side. That usually adds depth without making the desk look busy.
If lighting is the weak spot in your room, Blacklyte is relevant because its store focuses on decorative indoor lighting. 25% off coupon code is available At the time of writing, a discount code is available on the Blacklyte store page. Check the details there before you buy.
Fix the accessories you touch every few minutes
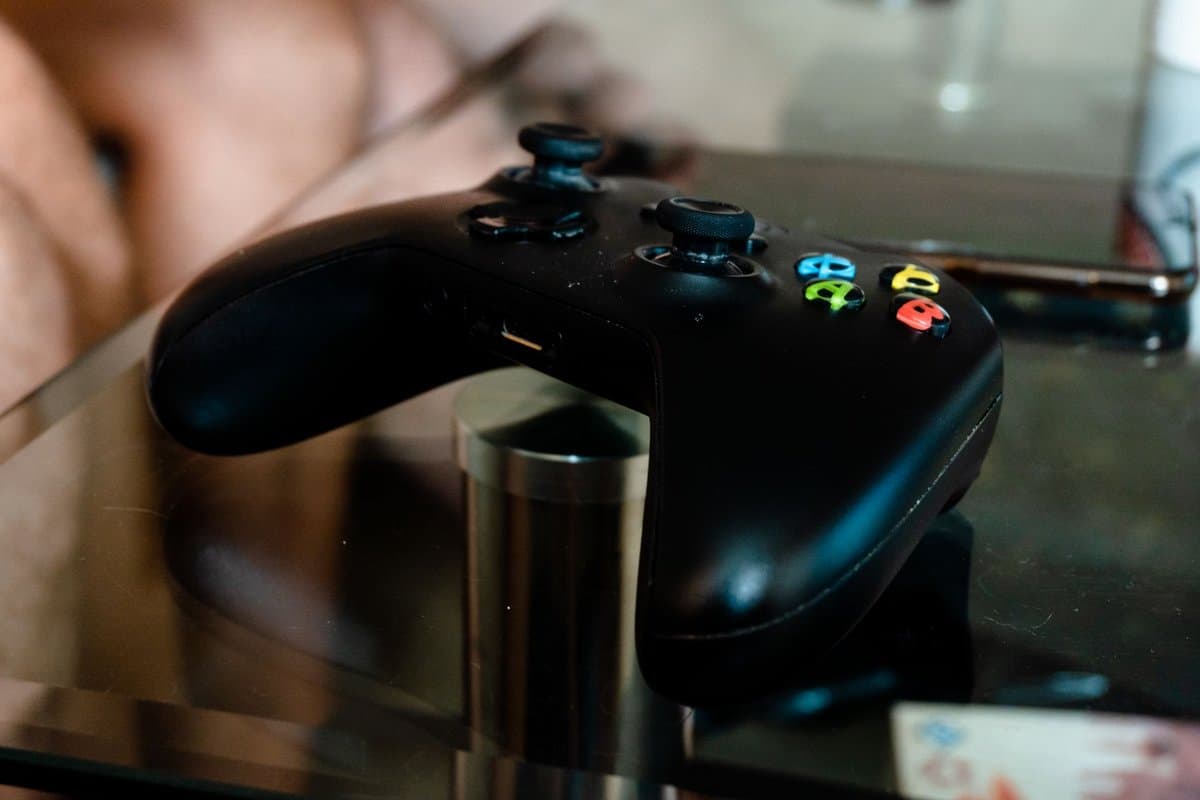
The upgrades that affect every session aren’t always the biggest ones. A worn controller, a charging cable that never quite reaches, or a headset with nowhere sensible to live can get annoying faster than an average screen.
Two small tactics help here. First, trace the route of your charging cable from the actual USB port you plan to use, not from the edge of the desk. That quick check tells you whether the cable will block airflow, cross your mouse space, or force the controller into an awkward charging spot. Second, decide where your gear lands mid-session. A controller dock or headset stand only helps if it’s placed where you naturally reach for it, not tucked into a corner because it looked neat in a product photo.
That’s where GAMESEAL can make sense, since the store carries gaming accessories and also highlights a clearance section and rewards program for smaller add-on purchases. 7% off coupon code is available At the time of writing, joining the GAMESEAL newsletter saves 10%. If you’re also replacing audio gear, it’s worth browsing the Gaming Headsets category with the same approach: solve the everyday annoyance first.
Make one upgrade, use it for a few nights, and then decide what still feels off. That keeps you from stacking a chair, monitor, lights, and accessories into one cart when only one of them would have fixed the problem you notice most. If you’re ready to price out the next step, browse the full Gaming deals page and compare options based on the issue you’re trying to solve.